Auto Labels
Auto Labels automatically categorize your infrastructure changes using AI-powered analysis. Define rules in plain language, and Overmind will intelligently apply labels to matching changes, helping you organize, filter, and prioritize your workflow.
How Auto Labels Work
When you create a change in Overmind, Auto Labels analyzes the change against your configured rules. If a change matches the criteria you've defined, the label is automatically applied. You can then filter changes by these labels directly from the sidebar for quick identification.
Labels appear on changes with an Auto Label icon, and hovering over the label displays the AI's reasoning for why it was applied.
Auto Labels are configured entirely through the Overmind web interface.
Auto Labels vs Tags
Overmind provides two ways to categorize changes:
-
Auto Labels: Dynamically applied by AI based on rules you define. Overmind analyzes each change and automatically applies matching labels. Configured through the web interface.
-
Tags: Manually applied when creating a change via the CLI using the
--tagsflag (e.g.,--tags environment=production,team=platform). Tags are static and explicitly set at the time of change submission.
Use Auto Labels when you want intelligent, consistent categorization without manual effort. Use Tags when you need to explicitly mark changes with known metadata at submission time.
Creating Auto Labels
Via Settings (Recommended)
Creating Auto Labels through Settings allows you to test your instructions against previous changes before saving, ensuring your labels work as expected.
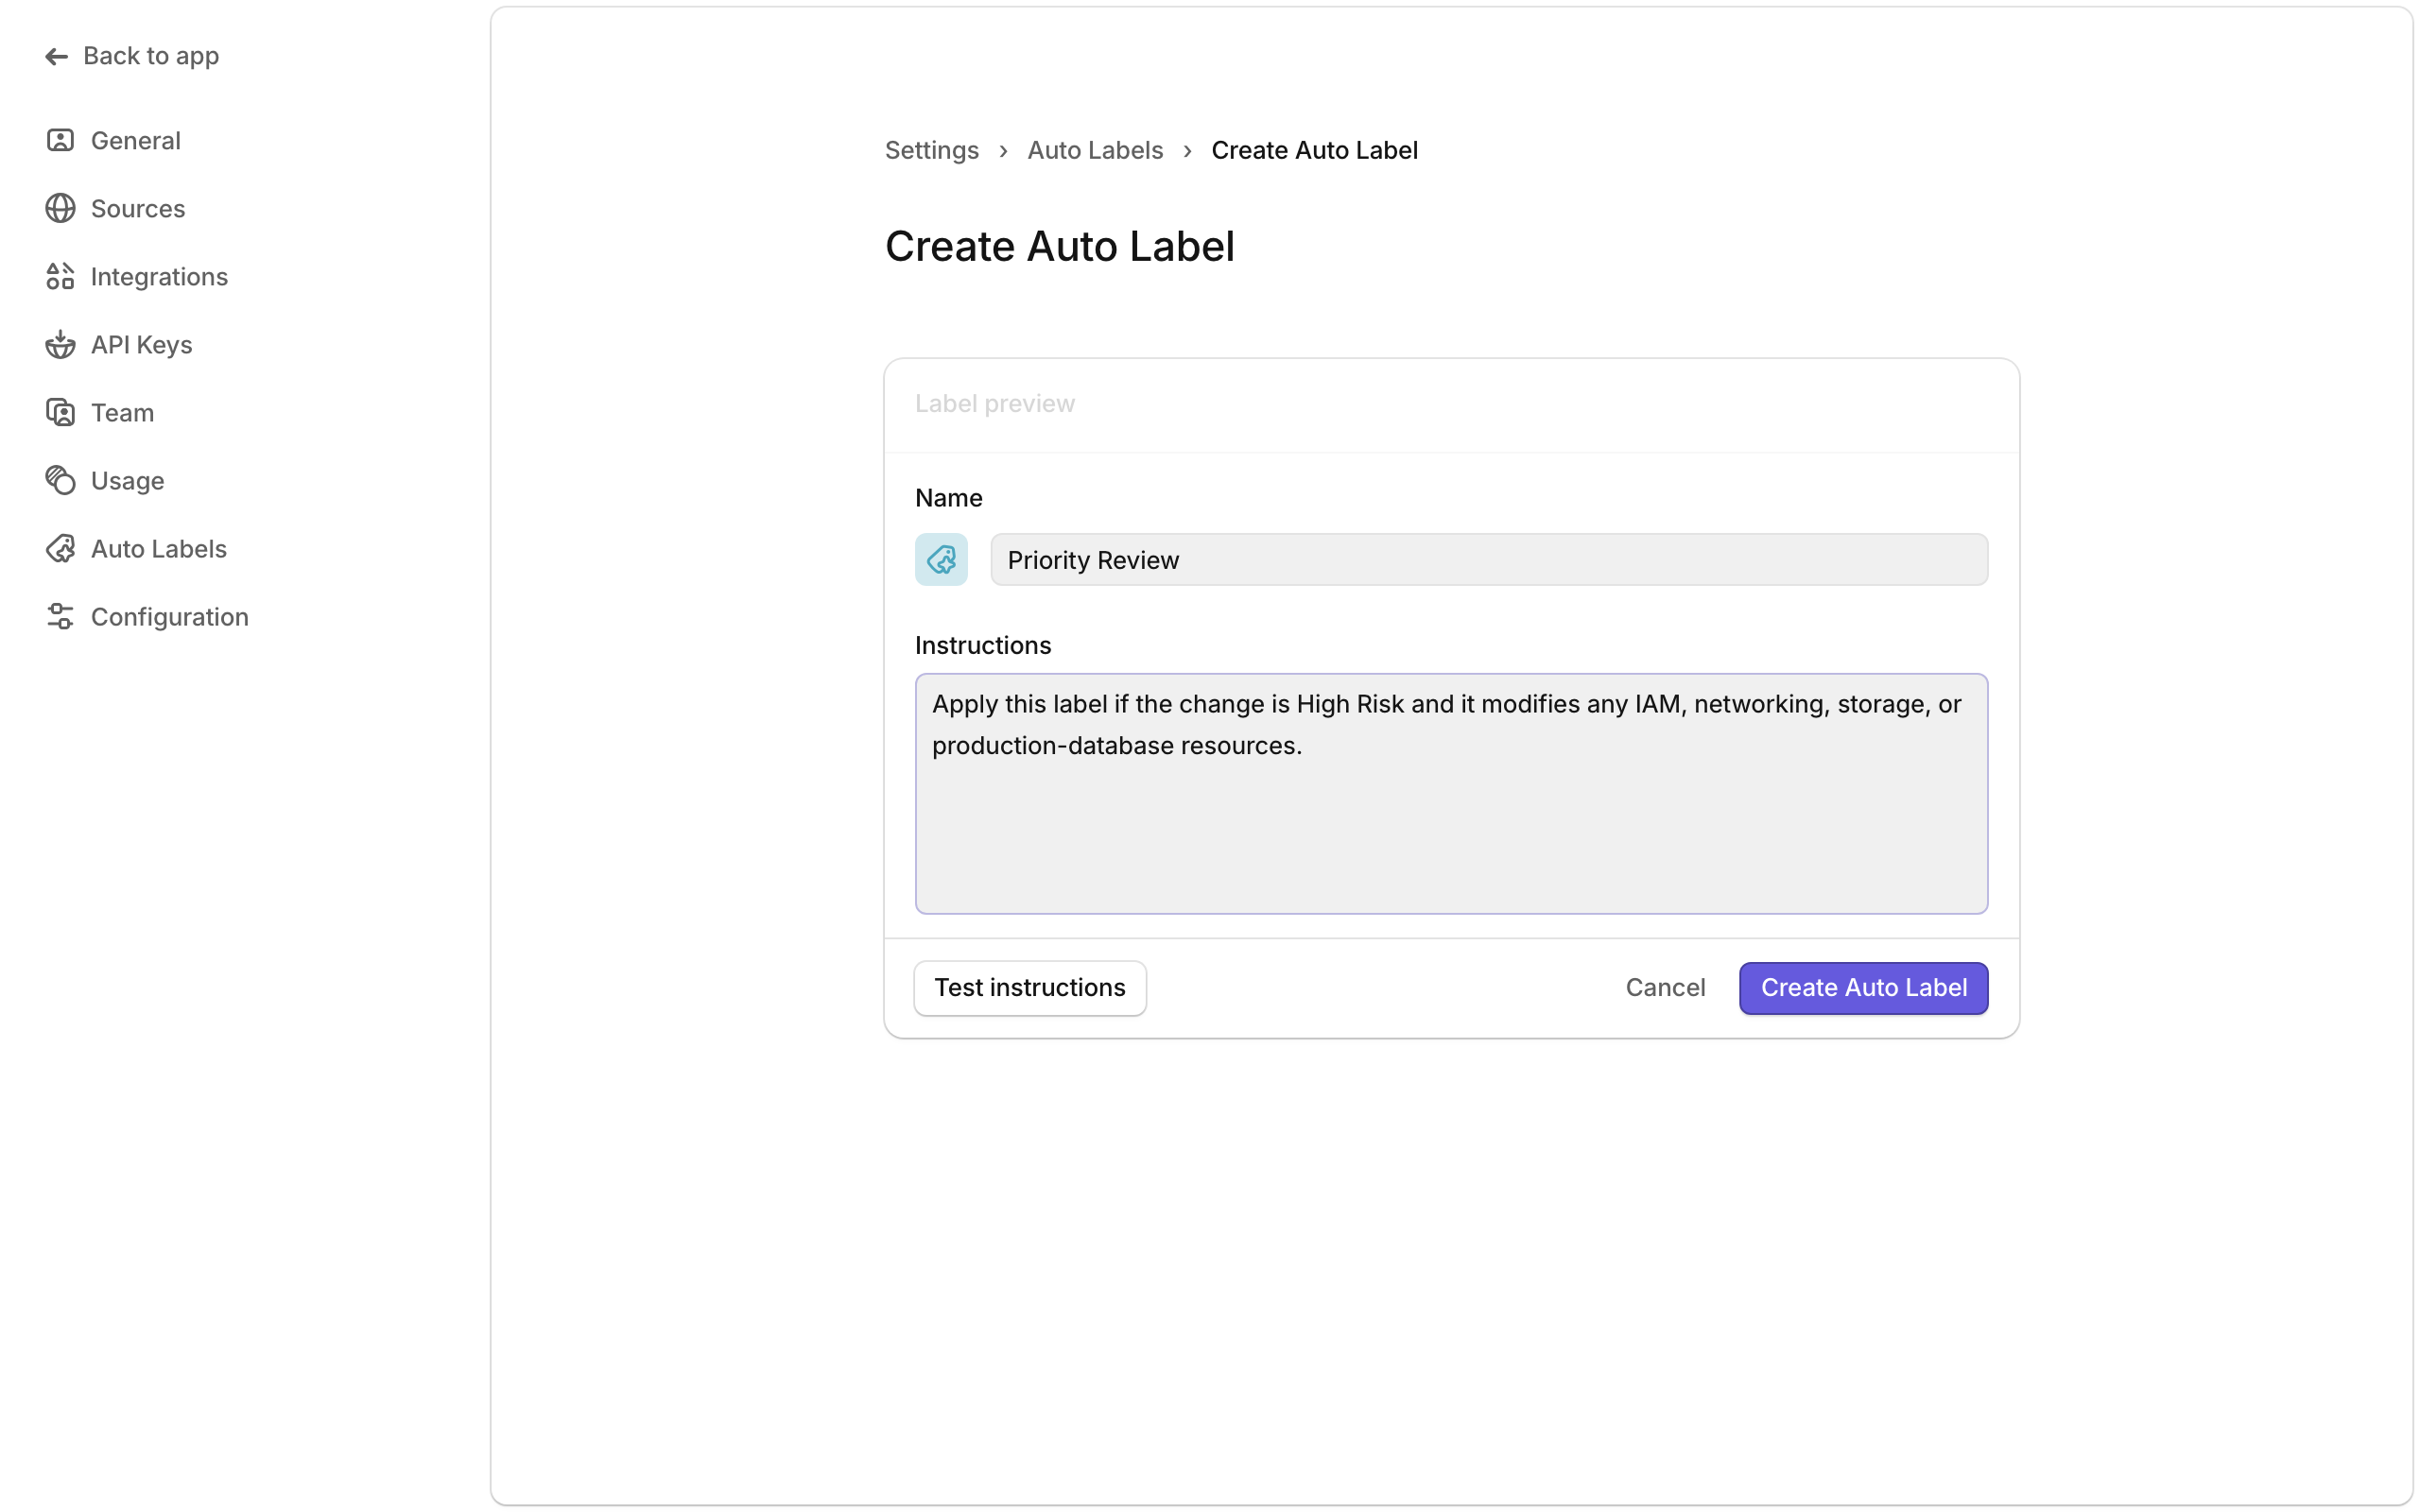
- Navigate to Settings › Auto Labels
- Click New label
- Configure your label:
- Name: A descriptive name for the label (e.g., "Frontend Team Review", "Audit Required")
- Instructions: Describe in plain language what changes should receive this label
- Click Test instructions to validate against existing changes
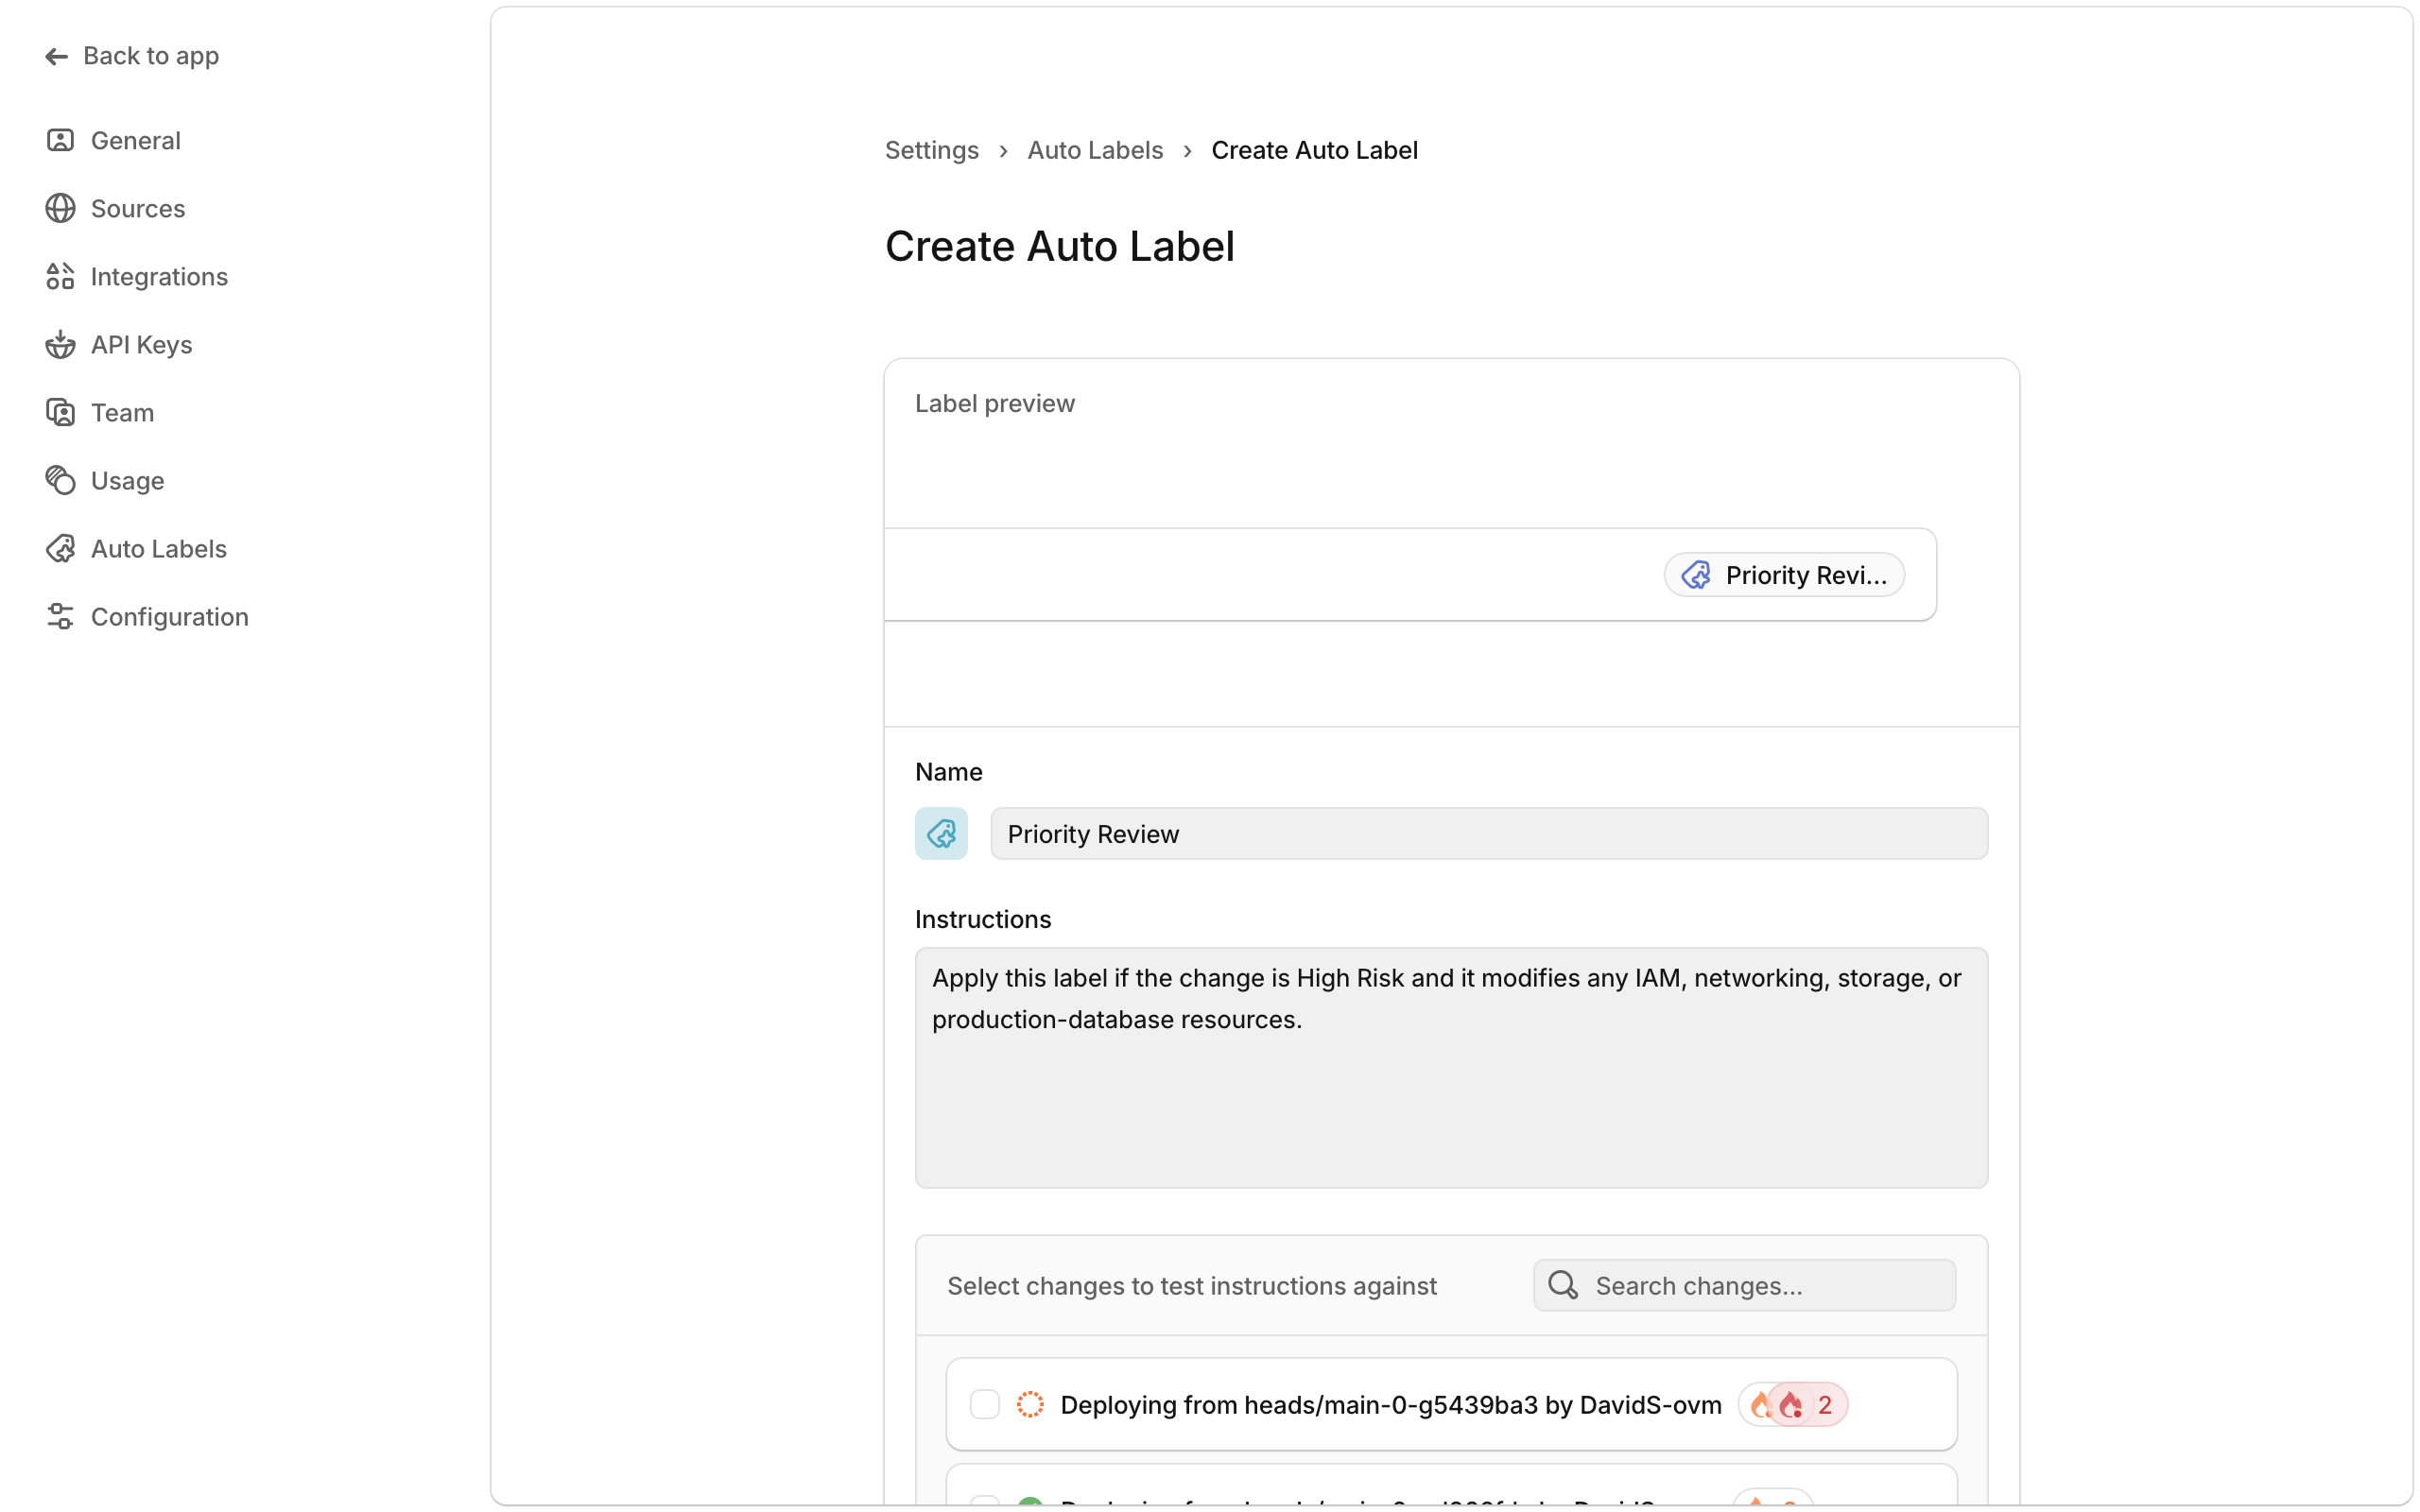
- Review the results:
- Changes that would receive the label show a green explanation with the AI's reasoning
- Changes that wouldn't match show a red explanation of why the criteria weren't met
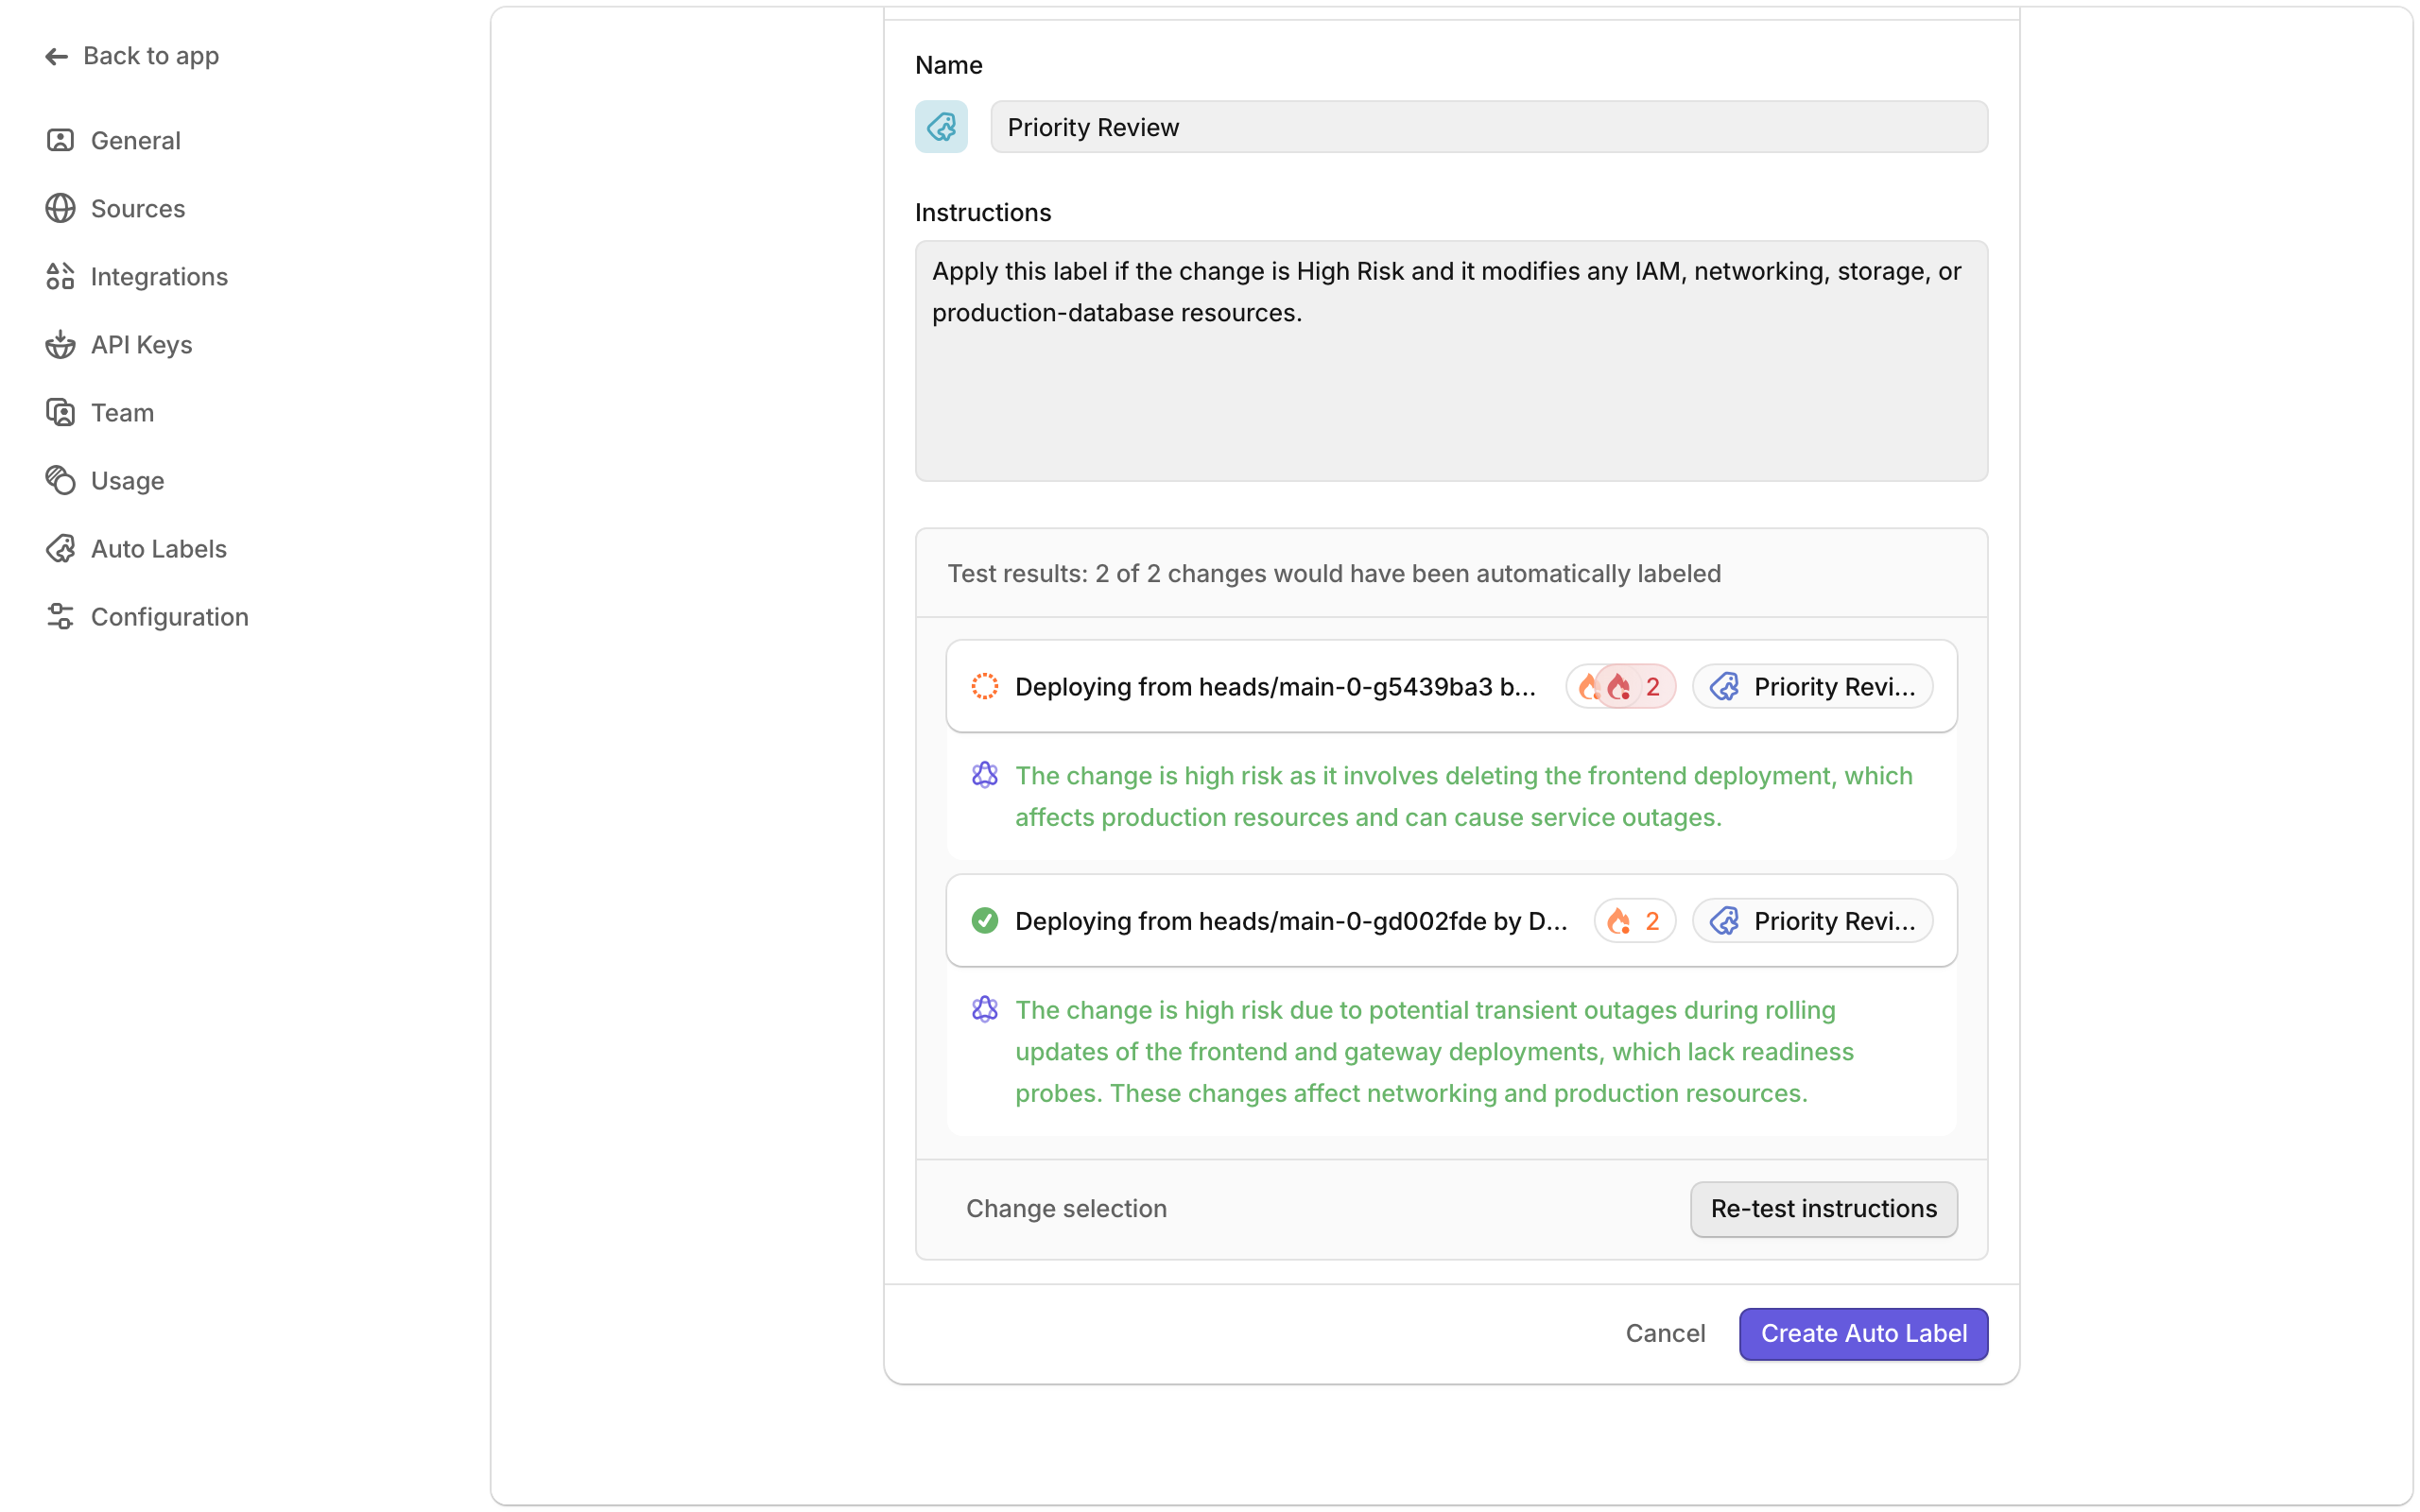
- Click Create Auto Label
Via Changes Sidebar
For quick label creation while working with changes:
- In the Changes view, locate the Auto Labels section in the sidebar
- Click to create a new label
- Enter the Name and Instructions
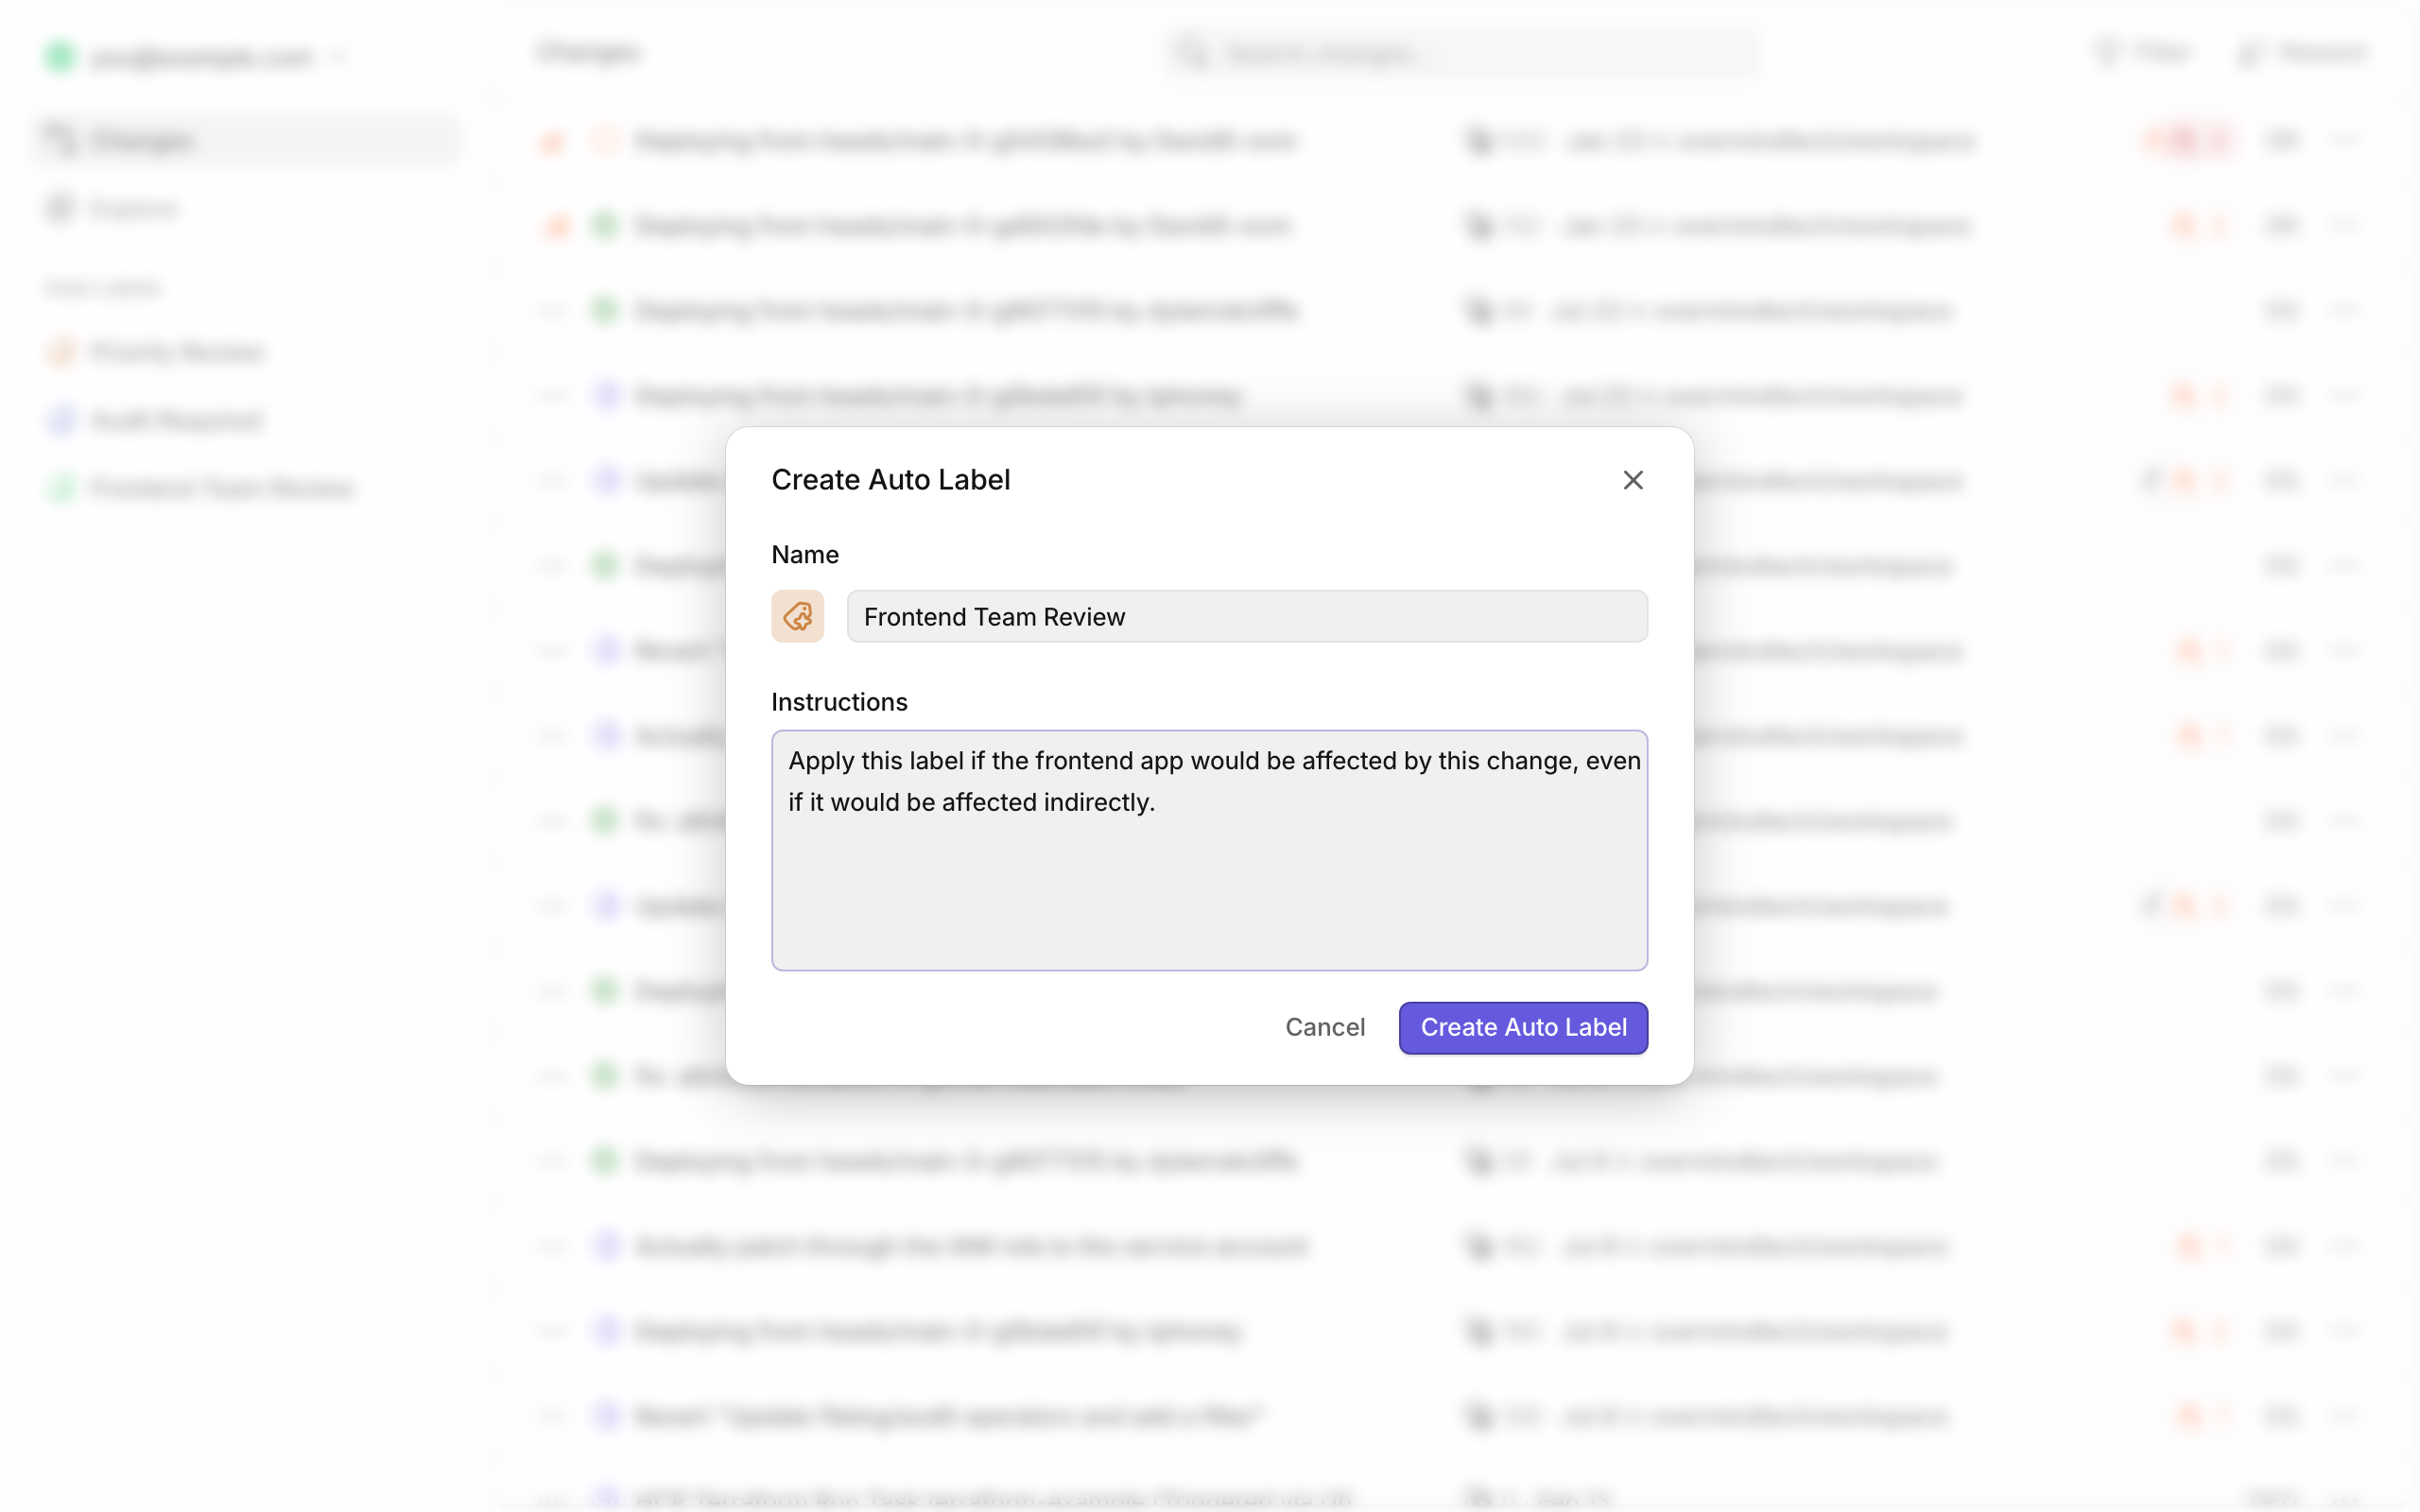
- Click Create Auto Label
Note: Creating labels via the sidebar doesn't allow testing against previous changes. For more control, use the Settings page.
Managing Auto Labels
Viewing Label Details
From the Changes sidebar:
- Hover over an Auto Label
- Click the ... menu
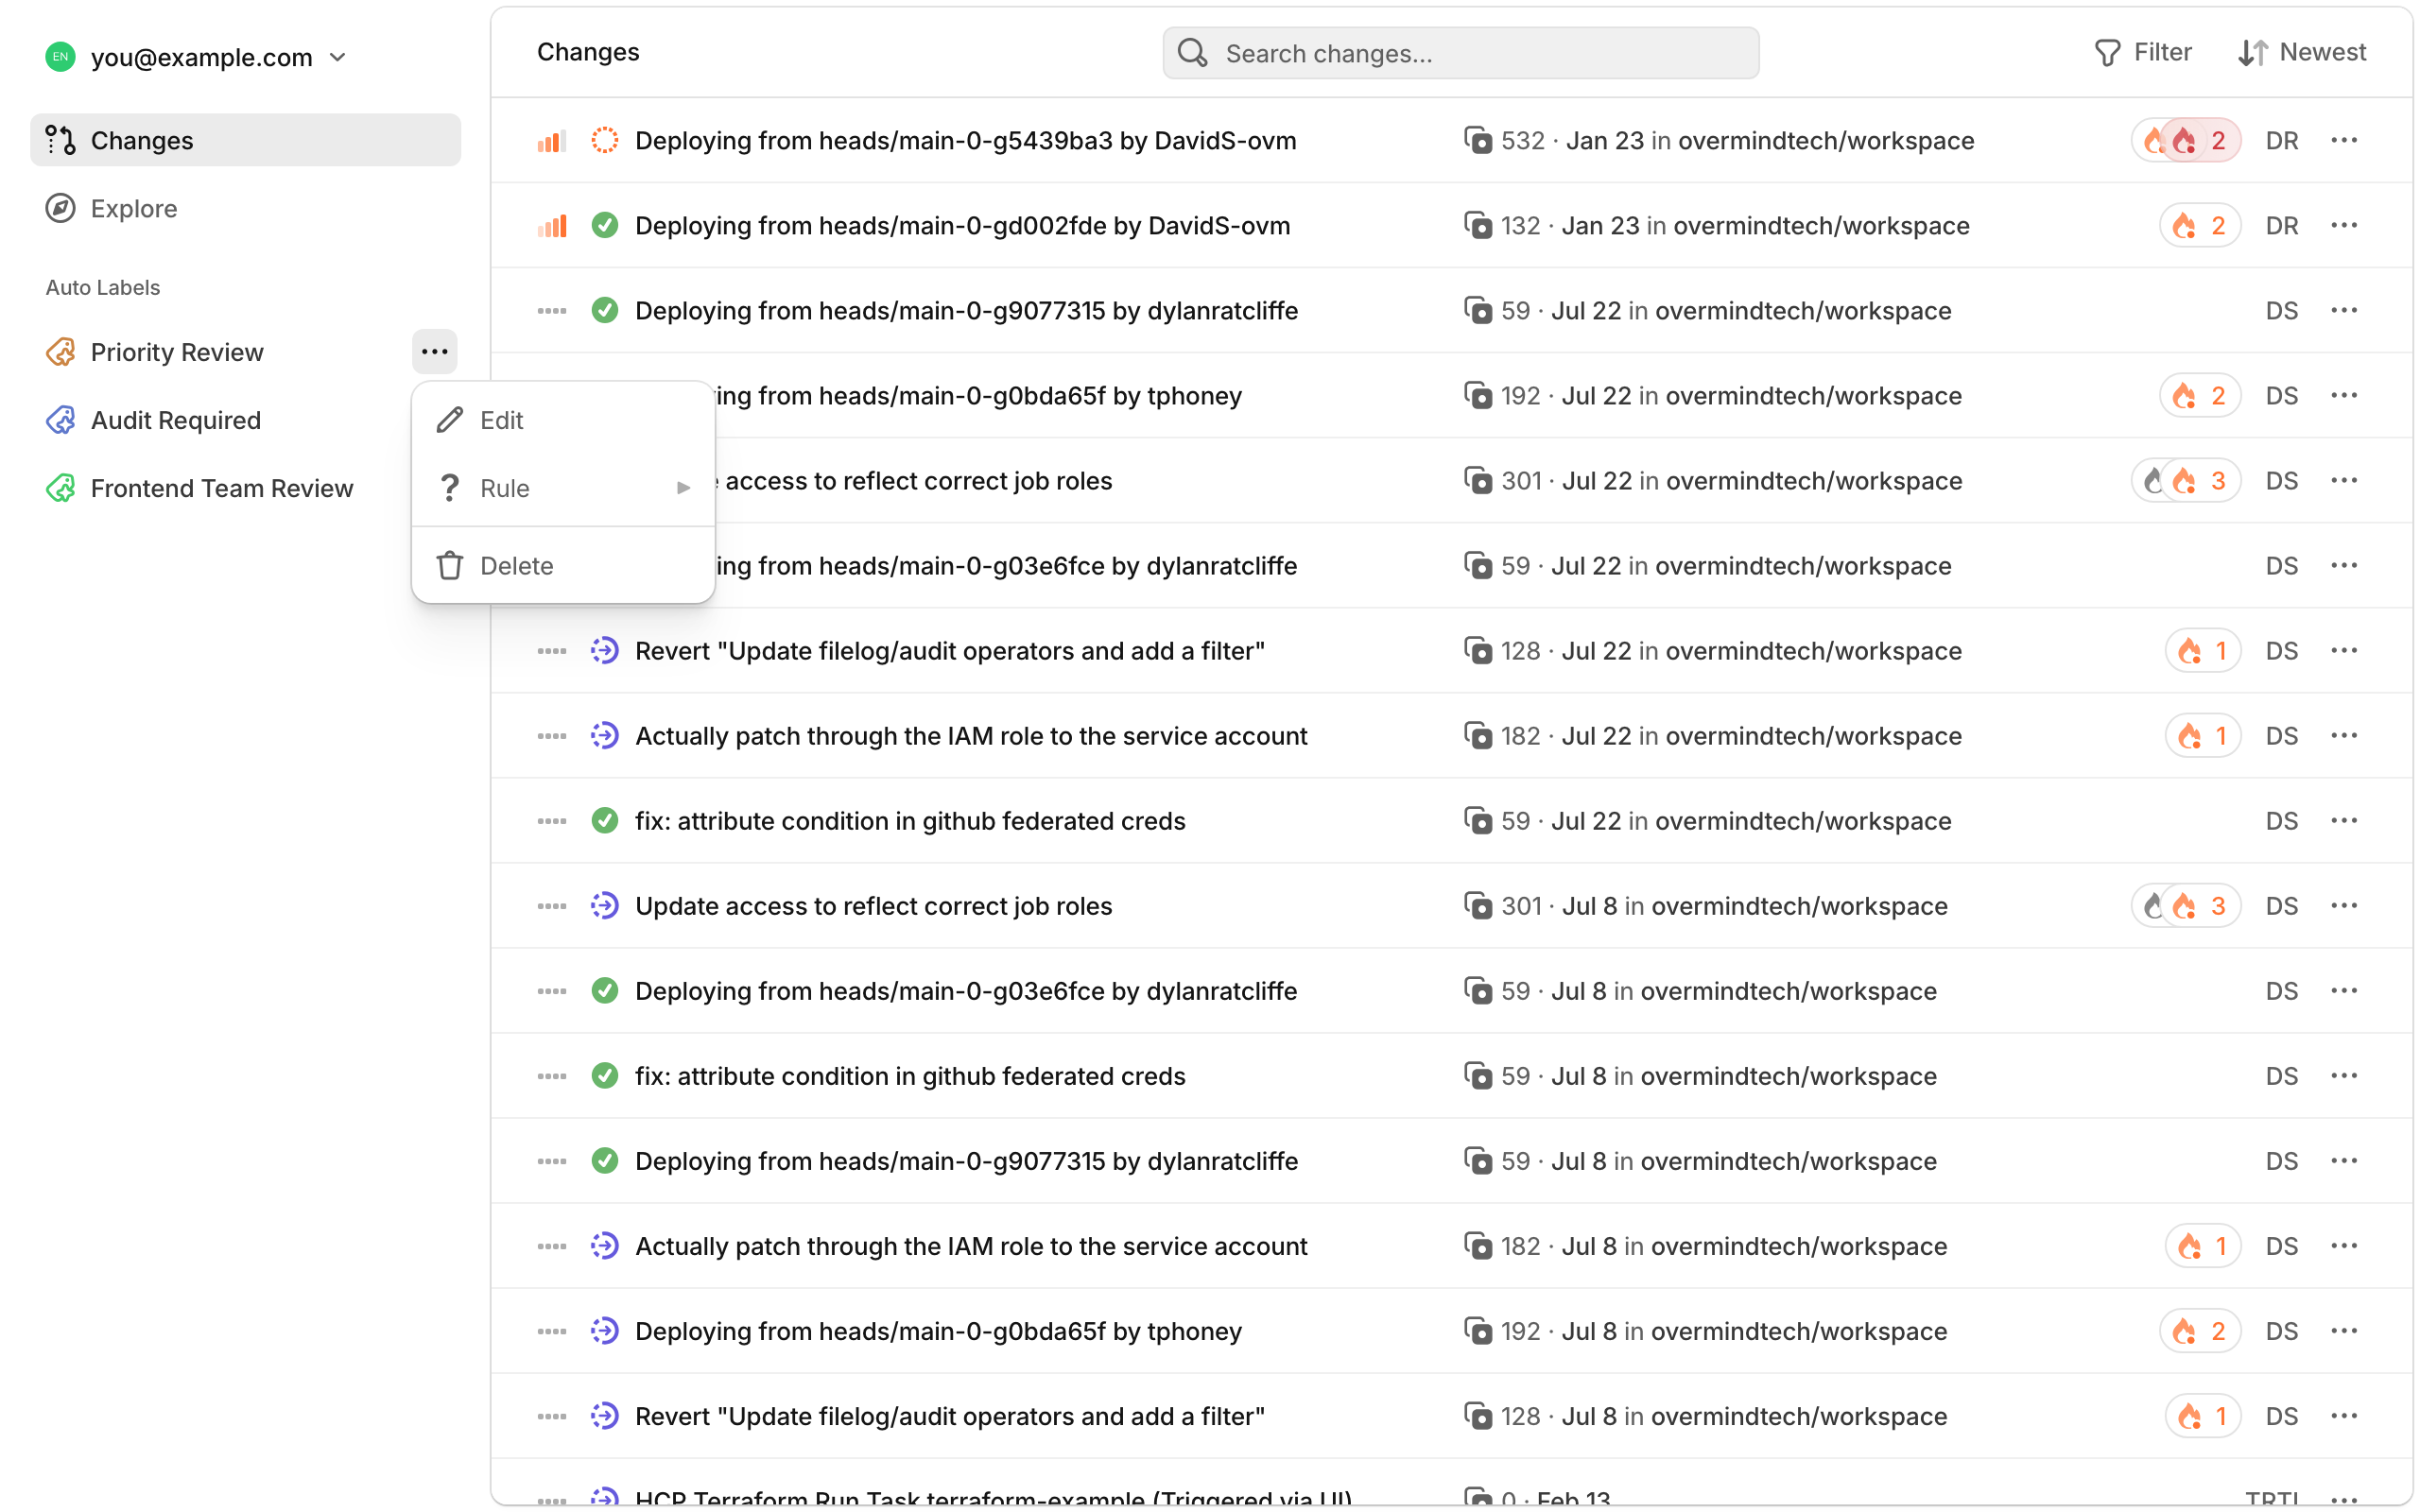
- Select Rule to view the label's instructions
Editing Labels
- Navigate to Settings › Auto Labels
- Click on the label you want to edit
- Modify the name or instructions
- Test your changes against existing changes
- Save your updates
Deleting Labels
From the Changes sidebar:
- Click the ... menu next to the label
- Select Delete
Or from Settings › Auto Labels, select the label and delete it.
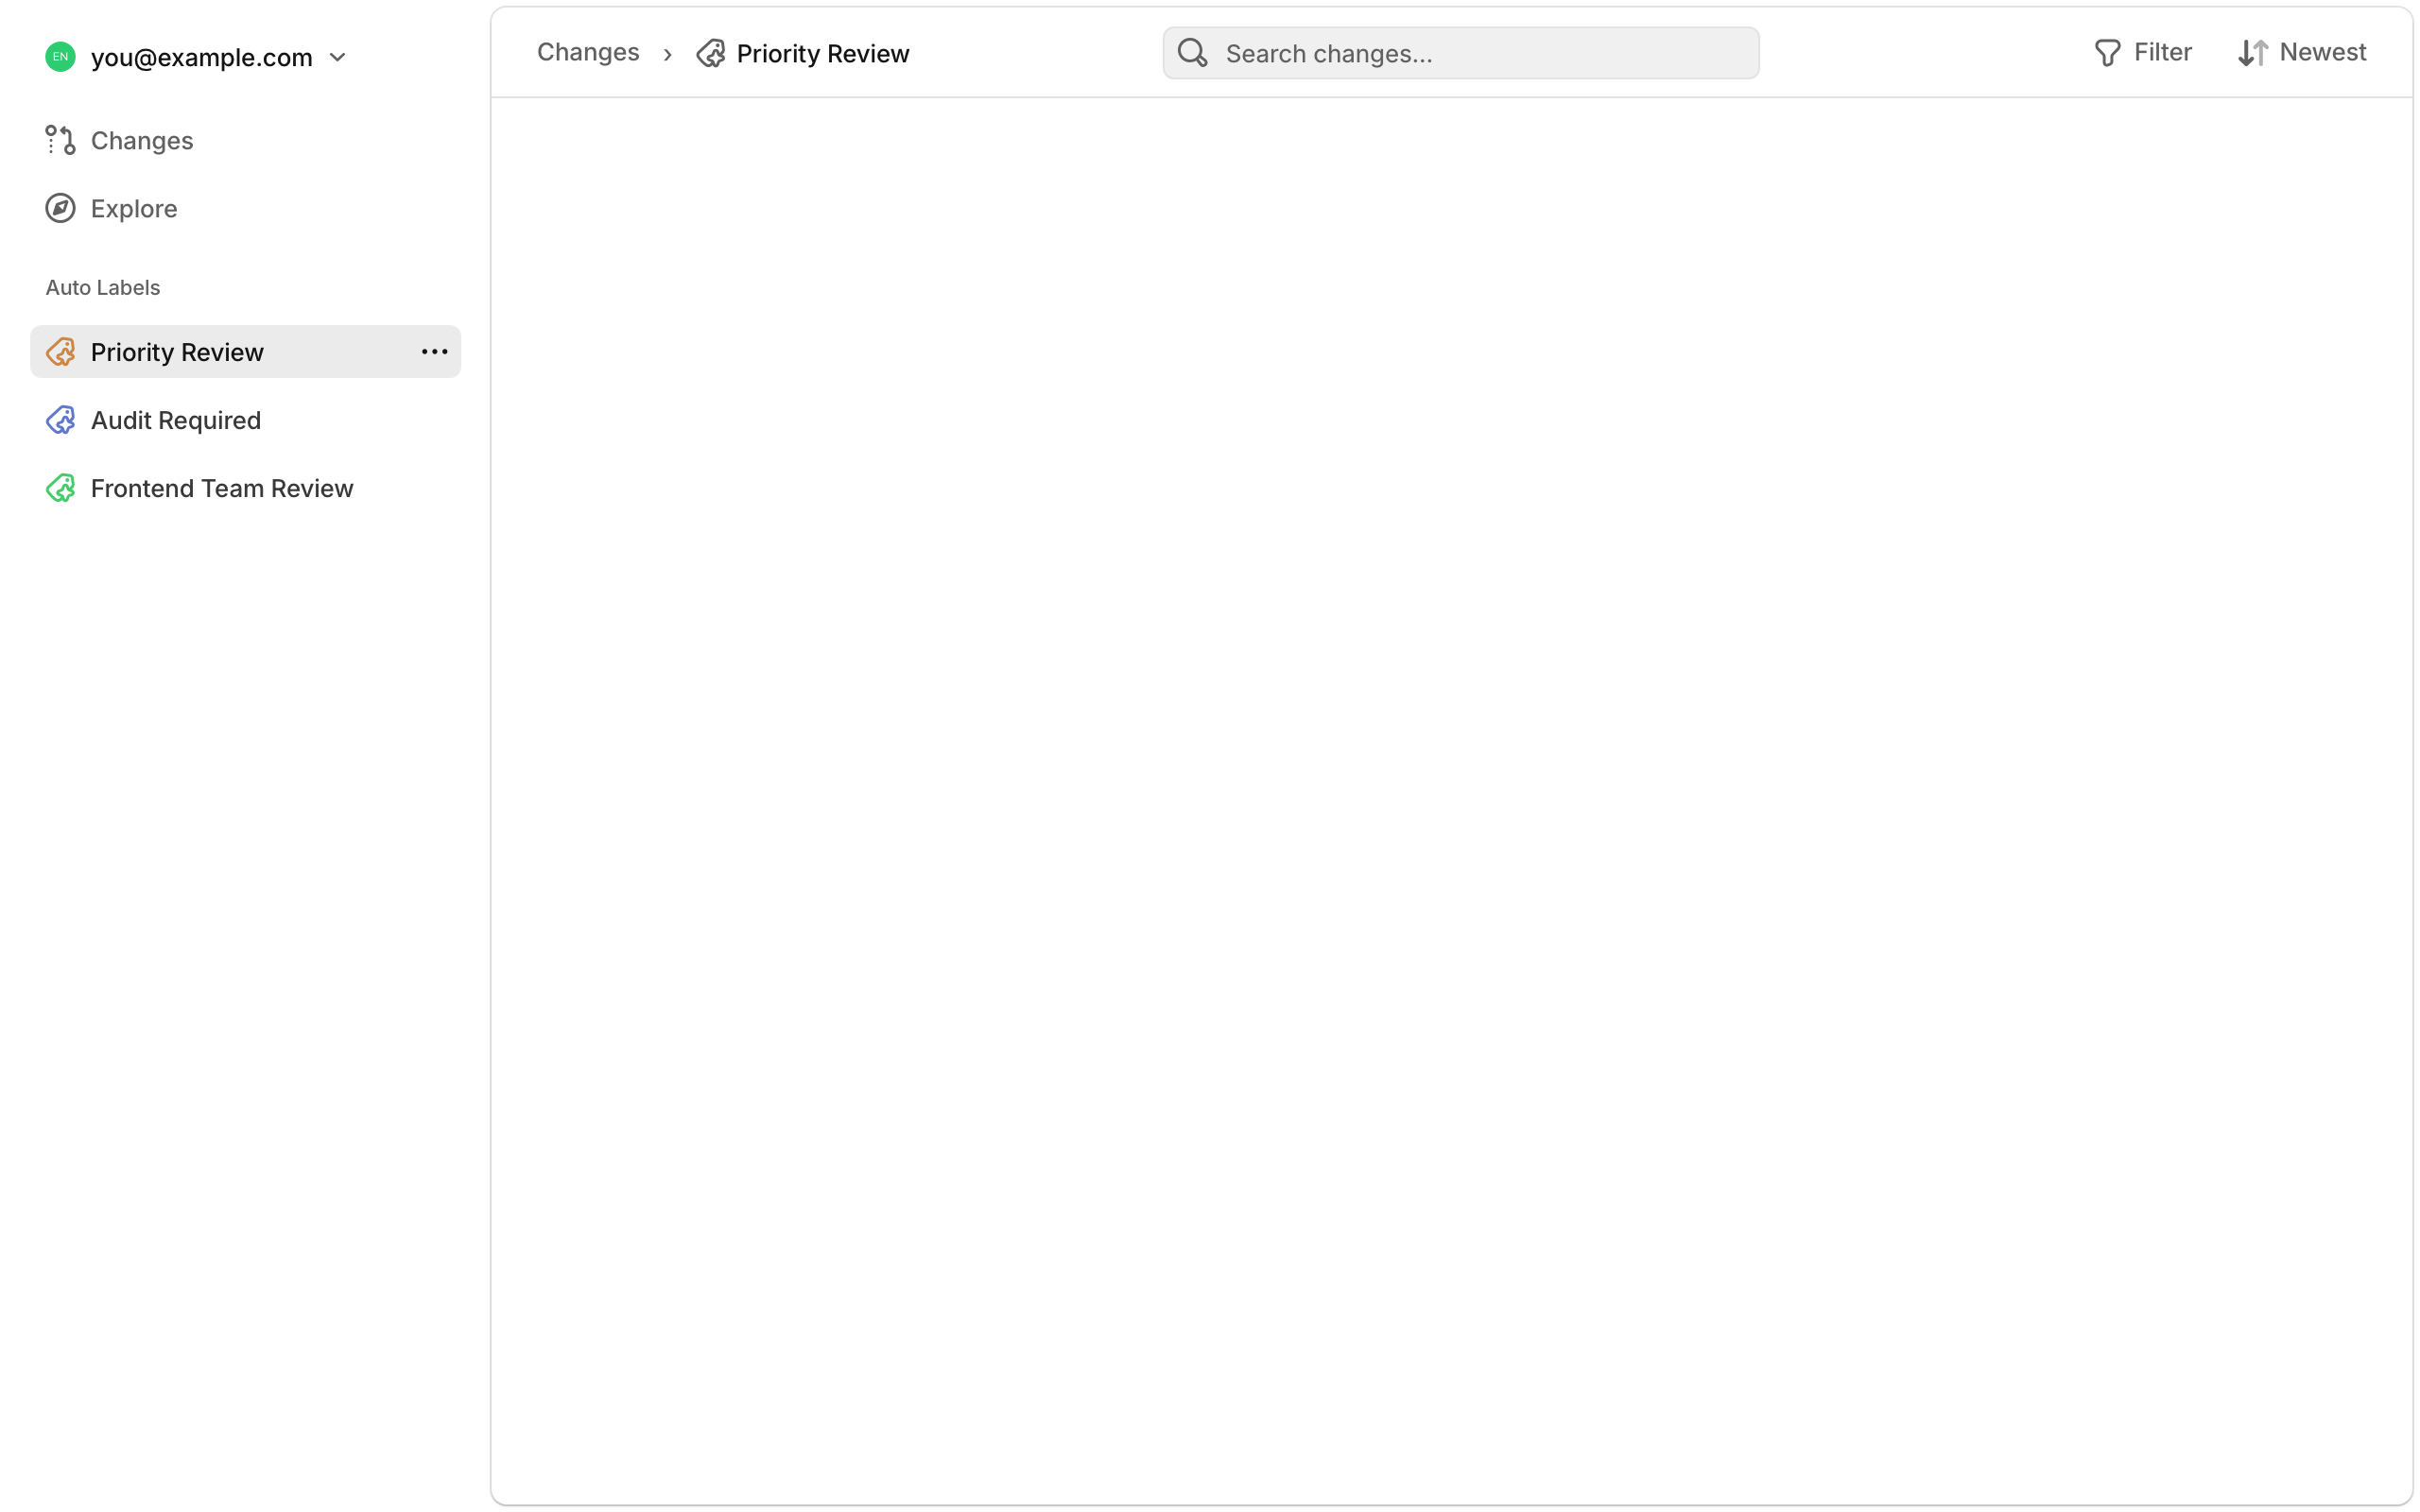
Filtering Changes by Label
Click any Auto Label in the sidebar to filter the Changes view, showing only changes with that label applied. This makes it easy to focus on specific categories of changes, such as those requiring security review or affecting particular teams.
Writing Effective Instructions
Auto Labels use AI to interpret your instructions, so write them in clear, natural language. Be specific about the criteria that should trigger the label.
Example Labels
Priority Review
Apply this label if the change is High Risk and it modifies any IAM,
networking, storage, or production-database resources.
Audit Required
Apply this label if the change modifies restricted resources, such as
kms, secretsmanager, vault, or encryption, or updates any
encryption-related configuration file.
Frontend Team Review
Apply this label if the frontend app would be affected by this change,
even if it would be affected indirectly.
Tips for Better Instructions
- Be specific: Instead of "security changes", specify "changes to IAM roles, security groups, or encryption settings"
- Include indirect impacts: Add phrases like "even if affected indirectly" when you want to catch downstream dependencies
- Reference resource types: Mention specific AWS/GCP resource types when relevant (e.g., "RDS instances", "KMS keys", "S3 buckets")
- Consider the blast radius: Remember that Overmind analyzes the full impact of changes, so your instructions can reference affected resources beyond what's directly modified
Best Practices
- Test before deploying: Always use the test functionality in Settings to validate your instructions against real changes
- Start broad, then refine: Begin with general criteria and adjust based on test results
- Use descriptive names: Choose label names that clearly indicate the required action or category
- Review periodically: As your infrastructure evolves, revisit your Auto Labels to ensure they remain relevant