Overview
Auto Tagging
Auto Tagging is a system that automatically categorizes infrastructure changes within the Overmind platform using rule-based logic and machine learning analysis. This feature is designed to help organizations maintain consistent change management practices, enforce compliance standards, and streamline the review process for infra modifications.
Key Features
Auto Tagging allows organizations to:
- Create customized tagging rules at the account level to automatically categorize changes based on specific criteria.
- Apply consistent tags across multiple development teams to maintain standardized change management practices.
- Automatically identify and flag potentially risky or significant changes that require additional review.
- Track and document change implications automatically to maintain a clear audit trail.
Rule Configuration
Rule Structure
Each tagging rule consists of the following components:
- Name: A human-readable identifier for the rule
- Tag Key: This is what appears in the change
- Enabled Status: A toggle to activate or deactivate the rule
- Instructions: The criteria used to evaluate changes
- Valid Values: Optional predefined values that can be assigned to the tag. These can be configured in two ways:
- Key only: Where the tag is applied without a specific value (e.g.,
needs-review) - Key-value pairs: Where both a key and specific value are assigned (e.g.,
team: frontend)
- Key only: Where the tag is applied without a specific value (e.g.,
These components (Name, Tag Key, Enabled Status, and Instructions) are provided to our Large Language Model (LLM) to evaluate changes and determine appropriate tags. The LLM uses these criteria to analyse changes and apply tags consistently according to the specified instructions.
Example Rule:
{
  "name": "Security Review Required",
  "tagKey": "security_review",
  "enabled": true,
  "instructions": "Determine if this change involves modifications to authentication, encryption, or sensitive security configurations.",
  "validValues": ["required", "optional", "not_needed"]
}
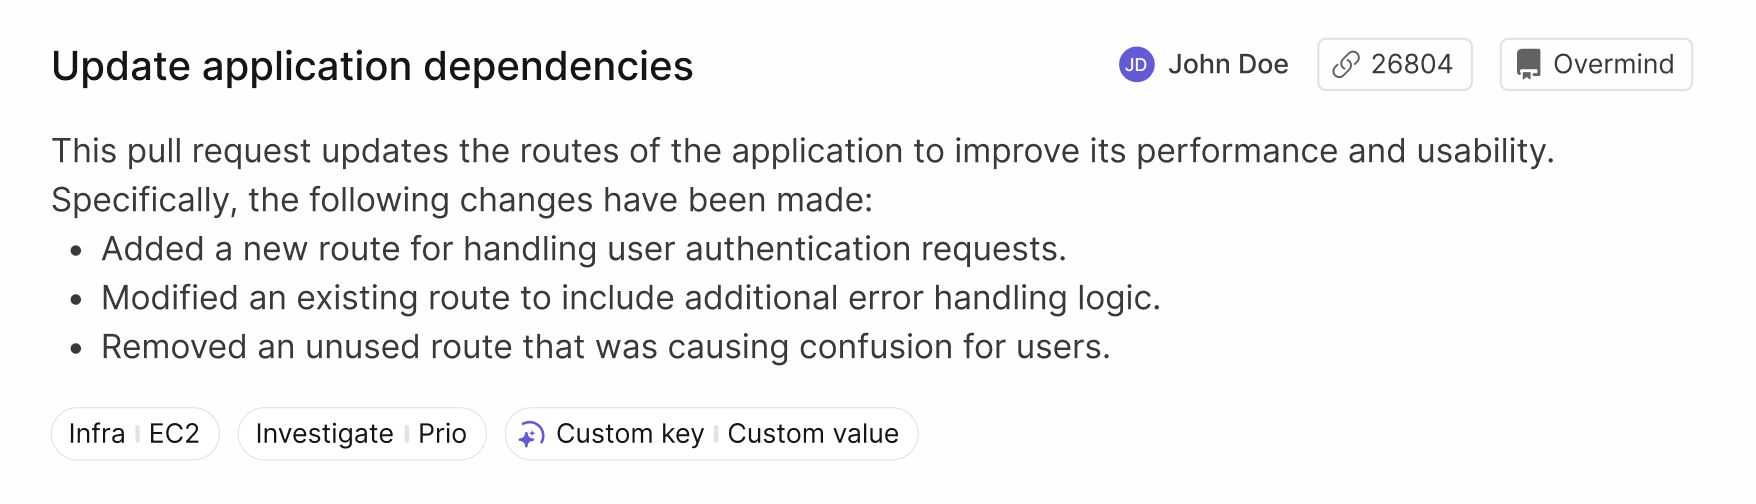
In the Overmind App, auto tags can be distinguished by the autotagging logo in front of them. When viewing changes in Overmind, you'll see:
- Name: A human-readable identifier for the rule
- Tag Key: The unique identifier used to tag changes
These are the primary identifiers used to track and manage your tagging rules.
💡 Tip: Hovering your mouse over the auto tag will display the reasoning.
Rule Management
Rules can be managed in the Overmind web application or a Rule file locally via the CLI :
- Create, edit, and delete rules at the account level
- Enable or disable rules as needed
- Test rules against existing changes before deployment
- Export rules to YAML to use in the CLI
Implementation Guide
Creating a New Rule
-
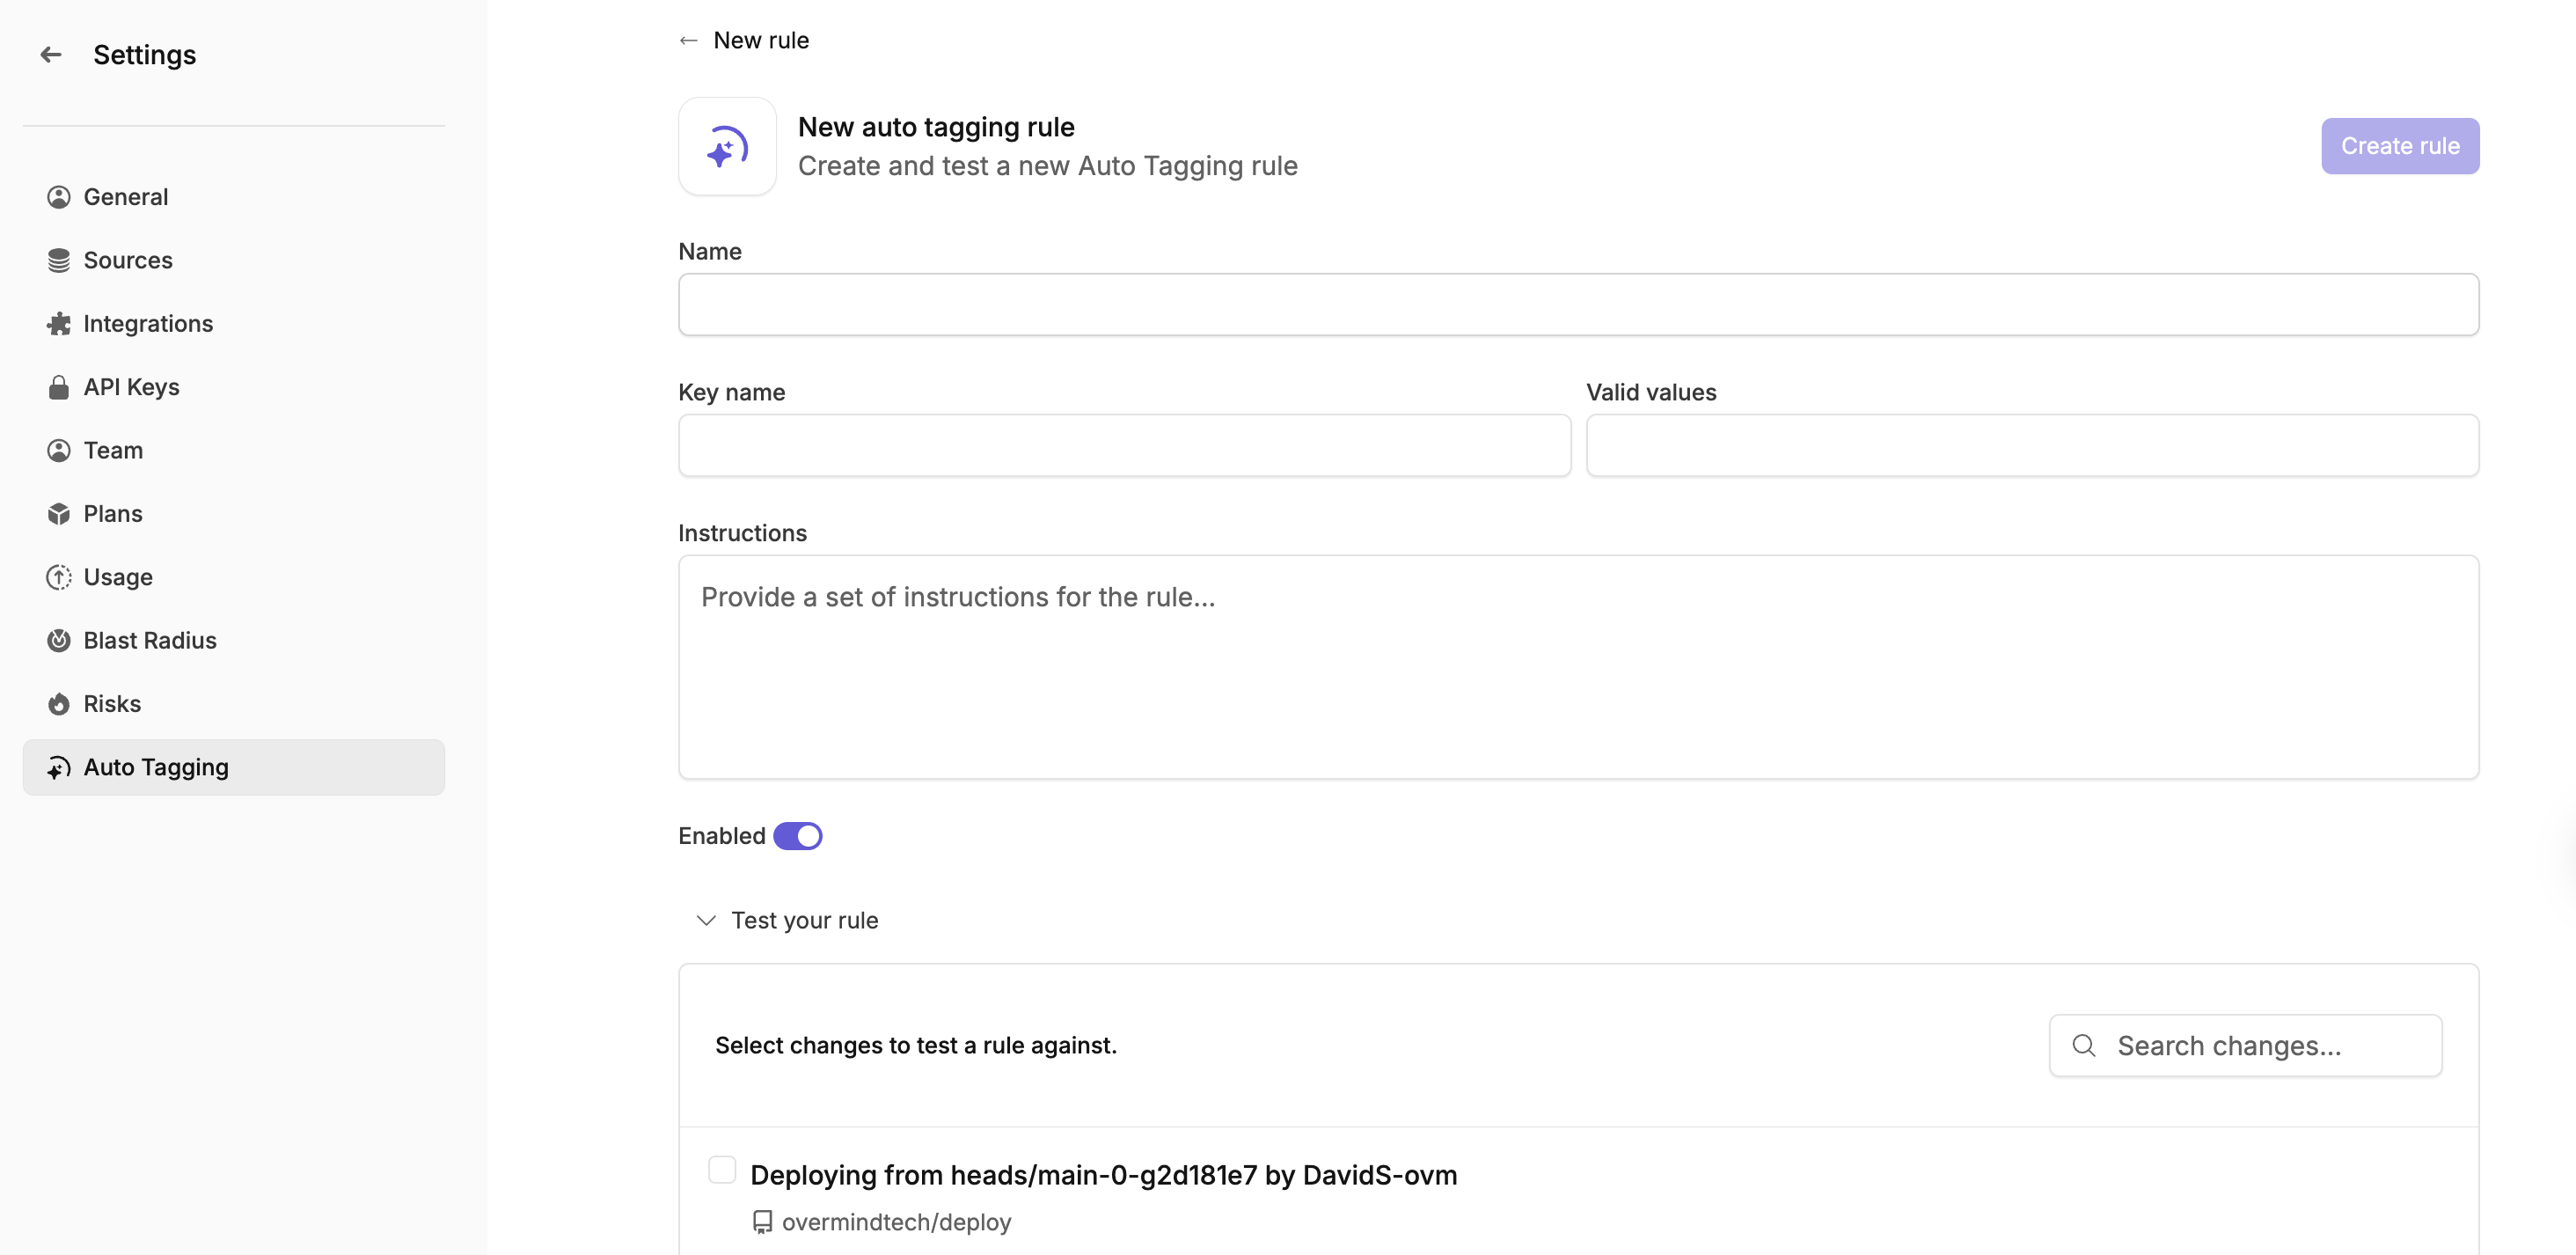
Navigate to Settings > Auto Tagging in the Overmind web application.
-
Click "Create New Rule".
Fill in the required fields:
- Provide a descriptive name.
- Set a unique tag key.
- Write clear instructions for change evaluation.
- Optionally define valid values.
- Test the rule against sample changes.
Testing Rule
Before deploying a rule:
- Select relevant test changes from your change history.
- Run the rule against selected changes.
- Review the tagging results.
- Adjust rule instructions as needed.
Best Practices
- Writing clear, specific instructions for each rule can help ensure that the rule is applied consistently.
Scenario 1: Routine Change Identification
Automatically identify and tag routine changes that may be pre-approved, such as AMI updates within the same major version.
Bad Example:
{
  "name": "Routine AMI Updates",
  "tagKey": "ami_update",
  "enabled": true,
  "instructions": "update amis only",
  "validValues": []
}
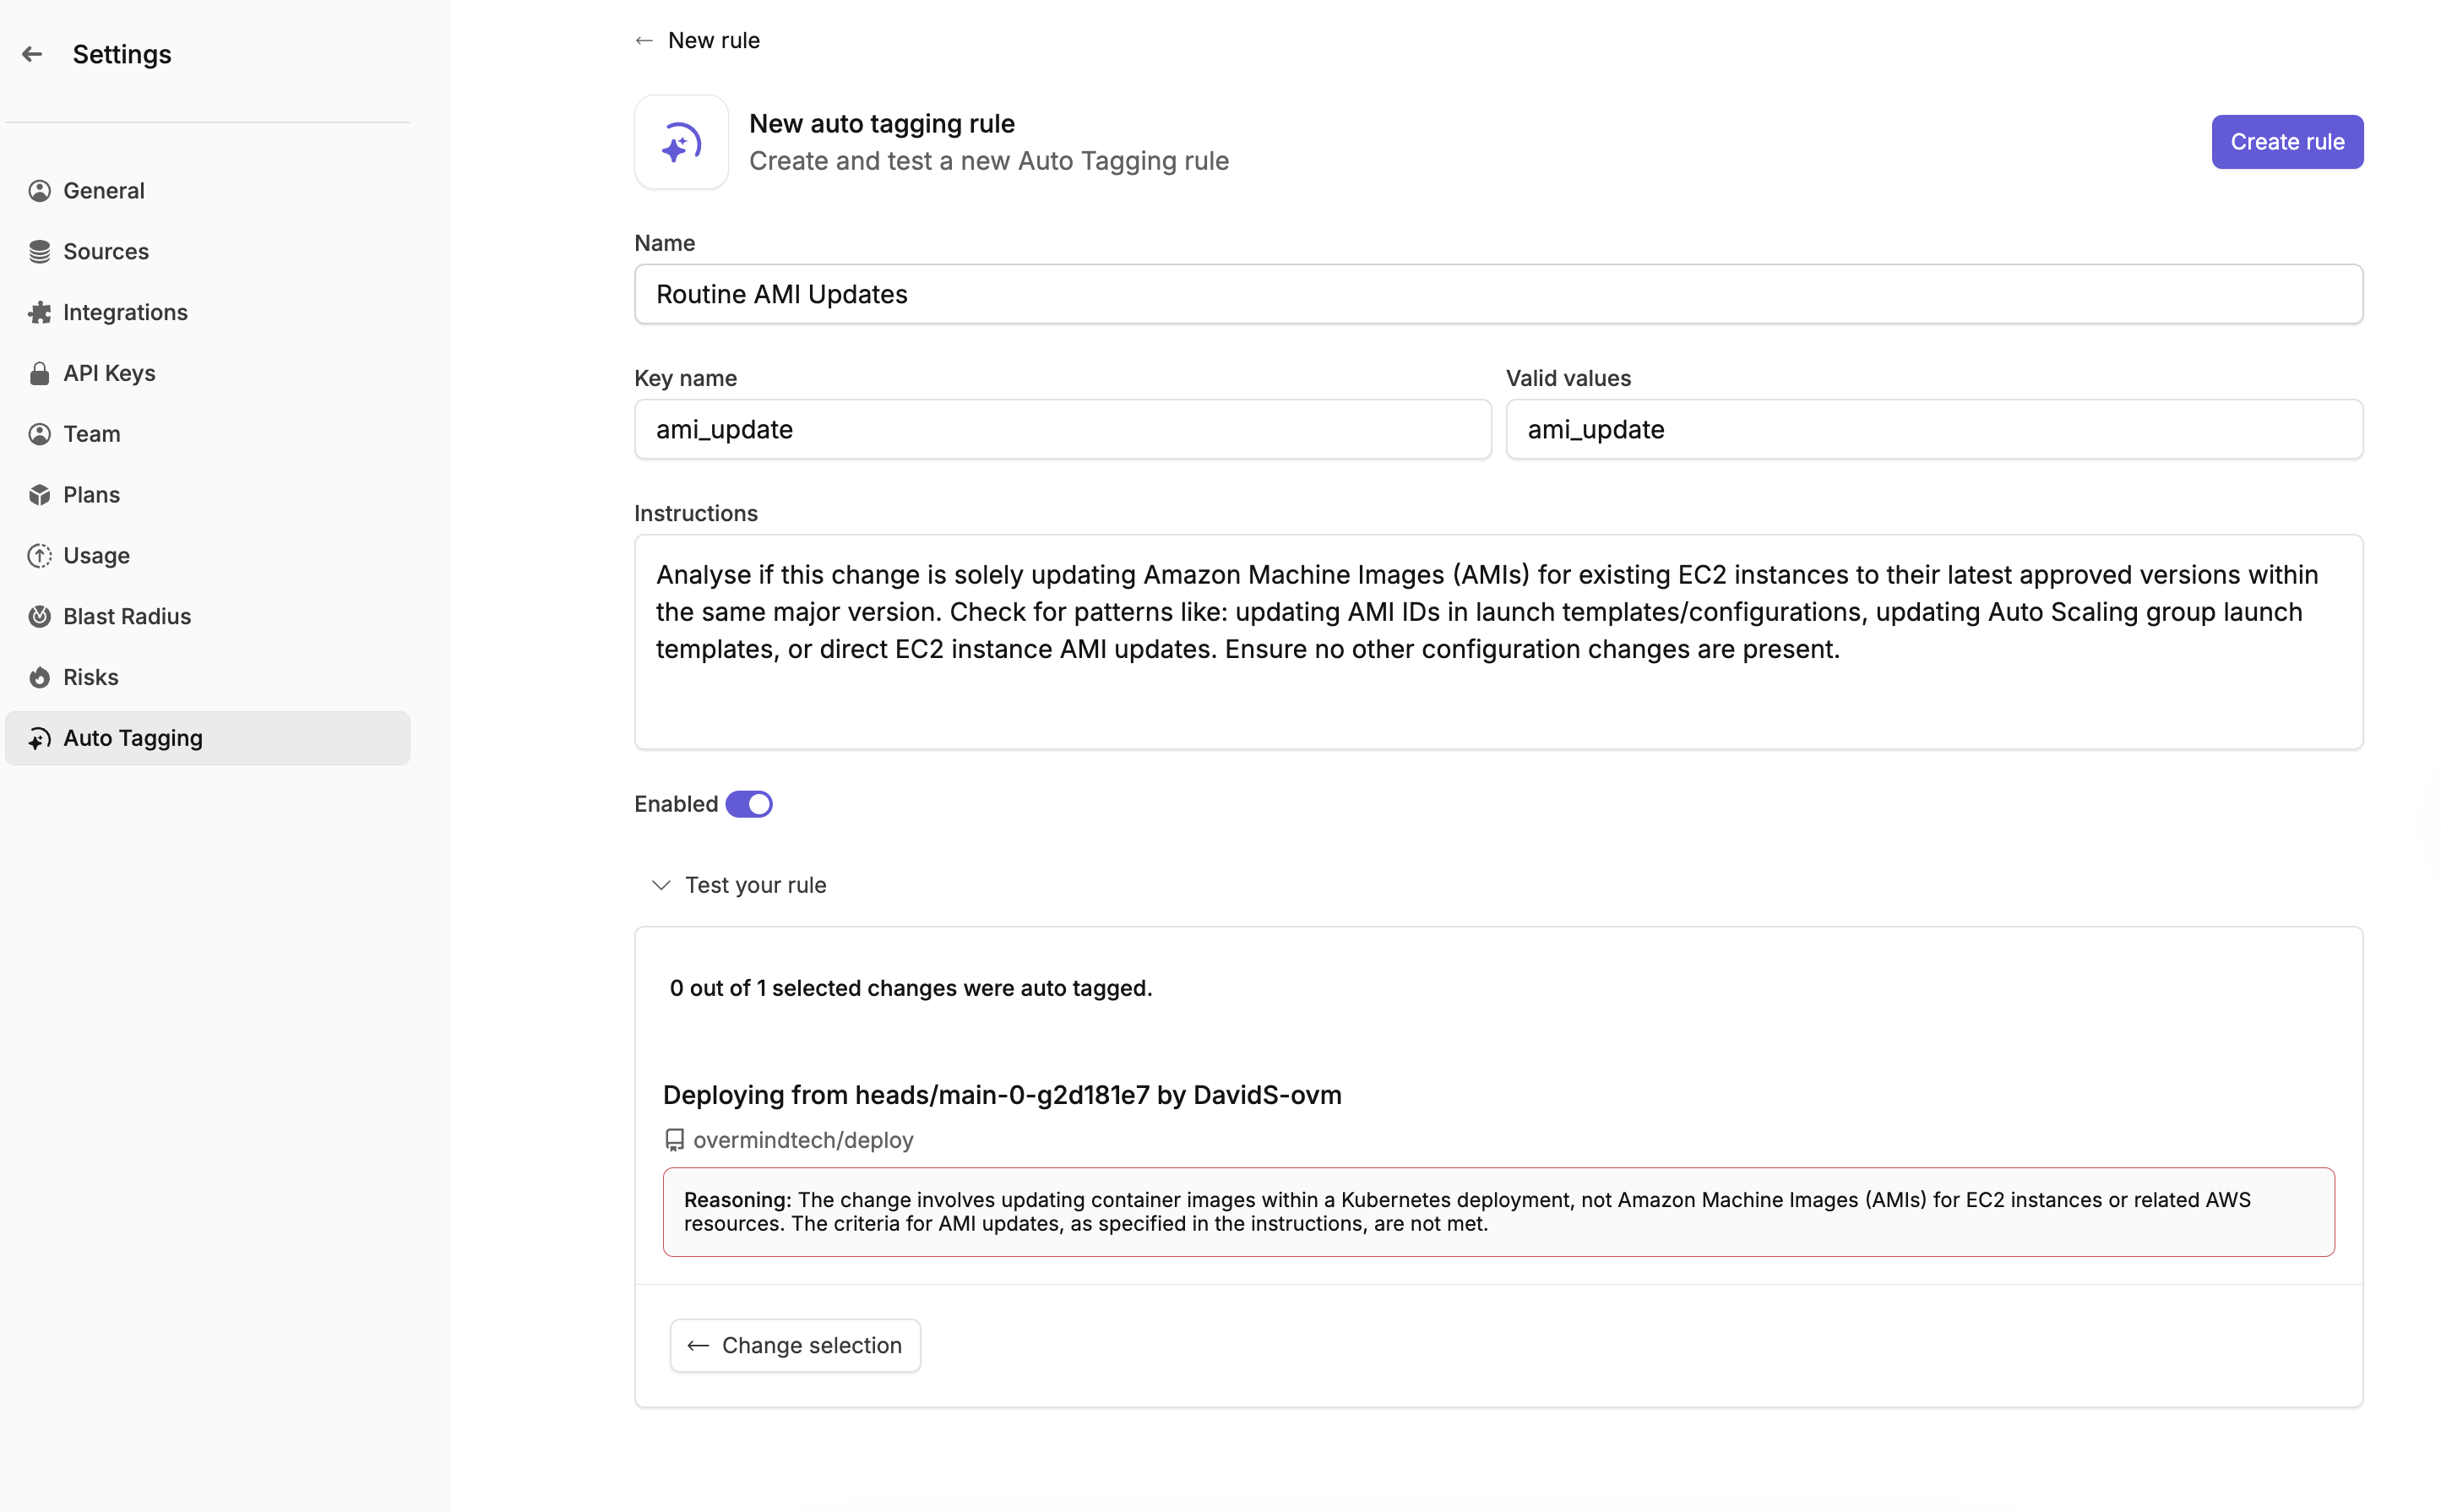
Good Example:
{
  "name": "Routine AMI Updates",
  "tagKey": "ami_update",
  "enabled": true,
  "instructions": "Analyse if this change is solely updating Amazon Machine Images (AMIs) for existing EC2 instances to their latest approved versions within the same major version. Check for patterns like: updating AMI IDs in launch templates/configurations, updating Auto Scaling group launch templates, or direct EC2 instance AMI updates. Ensure no other configuration changes are present.",
  "validValues": []
}
Scenario 2: Tagging Repository
Create a rule to automatically tag different Terraform repositories. To ensure correct tagging, add an additional line clarifying that it must only pick valid values that match.
Example:
{
  "name": "terraform repo",
  "tagKey": "terraform_repo",
  "enabled": true,
  "instructions": "Detect the changes being made in what Terraform repo, i.e., terraform-prod would equal the value prod. If the repo value does not exist in valid values please do not tag it.",
  "validValues": ["demo", "test", "prod", "dev", "staging"]
}
Limitations and CLI Usage
- Each account is limited to 10 autotagging rules
- Rules can be overridden via the CLI for specific use cases, allowing for temporary modifications without changing the base configuration